
You finish a Google Meet call and immediately know there's something worth keeping.
Maybe it was a client strategy session that turned into a great mini masterclass. Maybe it was a podcast interview with three quotable moments you can already hear as clips. Maybe it was a webinar rehearsal that landed better than the actual script. Then the call ends, and if you didn't record it, that value is gone.
That's why learning how to record Google Meet matters for more than note-taking. For creators, marketers, publishers, and teams building a serious content library, recording is the moment a conversation becomes an asset. One call can become a long-form video, a blog post, short social clips, a podcast segment, a transcript, and a searchable reference for future work.
If you're building a content engine instead of just publishing one-off pieces, your meetings are part of that engine. They belong in the same ecosystem as interviews, webinars, research calls, editorial discussions, and audience Q&As. A strong video content management system helps later, but first you need a clean recording.
Why Recording Google Meet Is Your Next Content Goldmine
A lot of valuable content starts in rooms that don't feel like content studios.
A founder jumps on a Google Meet to explain a product decision. A podcast host runs a remote guest interview. An editor talks through a trend with a writer. A marketing team records a webinar with strong audience questions. None of that looks flashy while it's happening, but the raw material is often better than what people try to script later.
That's the shift worth making. Don't treat recording as admin. Treat it as asset capture.
Meetings that deserve to become content
Not every call needs to live forever, but some meetings are obvious candidates for reuse:
- Guest interviews that can become YouTube uploads, podcast episodes, and quote graphics
- Internal expert conversations that can be reshaped into thought leadership
- Client education sessions that often contain clean explanations worth turning into FAQs
- Team workshops that surface frameworks, language, and examples you can publish later
The best content libraries aren't built only from “content production days.” They're built by recognizing when real conversations already contain the substance.
Practical rule: If a call includes original insights, recurring audience questions, or language you'd want to reuse in a blog post, it's probably worth recording.
For creators moving from hobby mode to professional publishing, this matters even more. You don't need to invent new ideas from scratch every time. You need to organize, understand, and act on the value already showing up in your conversations.
Why this matters for repurposing
A recorded Google Meet gives you options. Video can become audio. Audio can become text. Text can become articles, captions, outlines, newsletters, and scripts.
That's why the first question isn't just “Can I record this?” It's “How do I capture this cleanly enough that I can reuse it later without pain?”
The answer depends on your account, your device, and whether you need native Google Meet recording or a workaround. Some methods are straightforward. Some are clunky. Some fail because they miss system audio. The useful approach is choosing the right tool before the meeting starts.
The Official Method Recording with Google Workspace
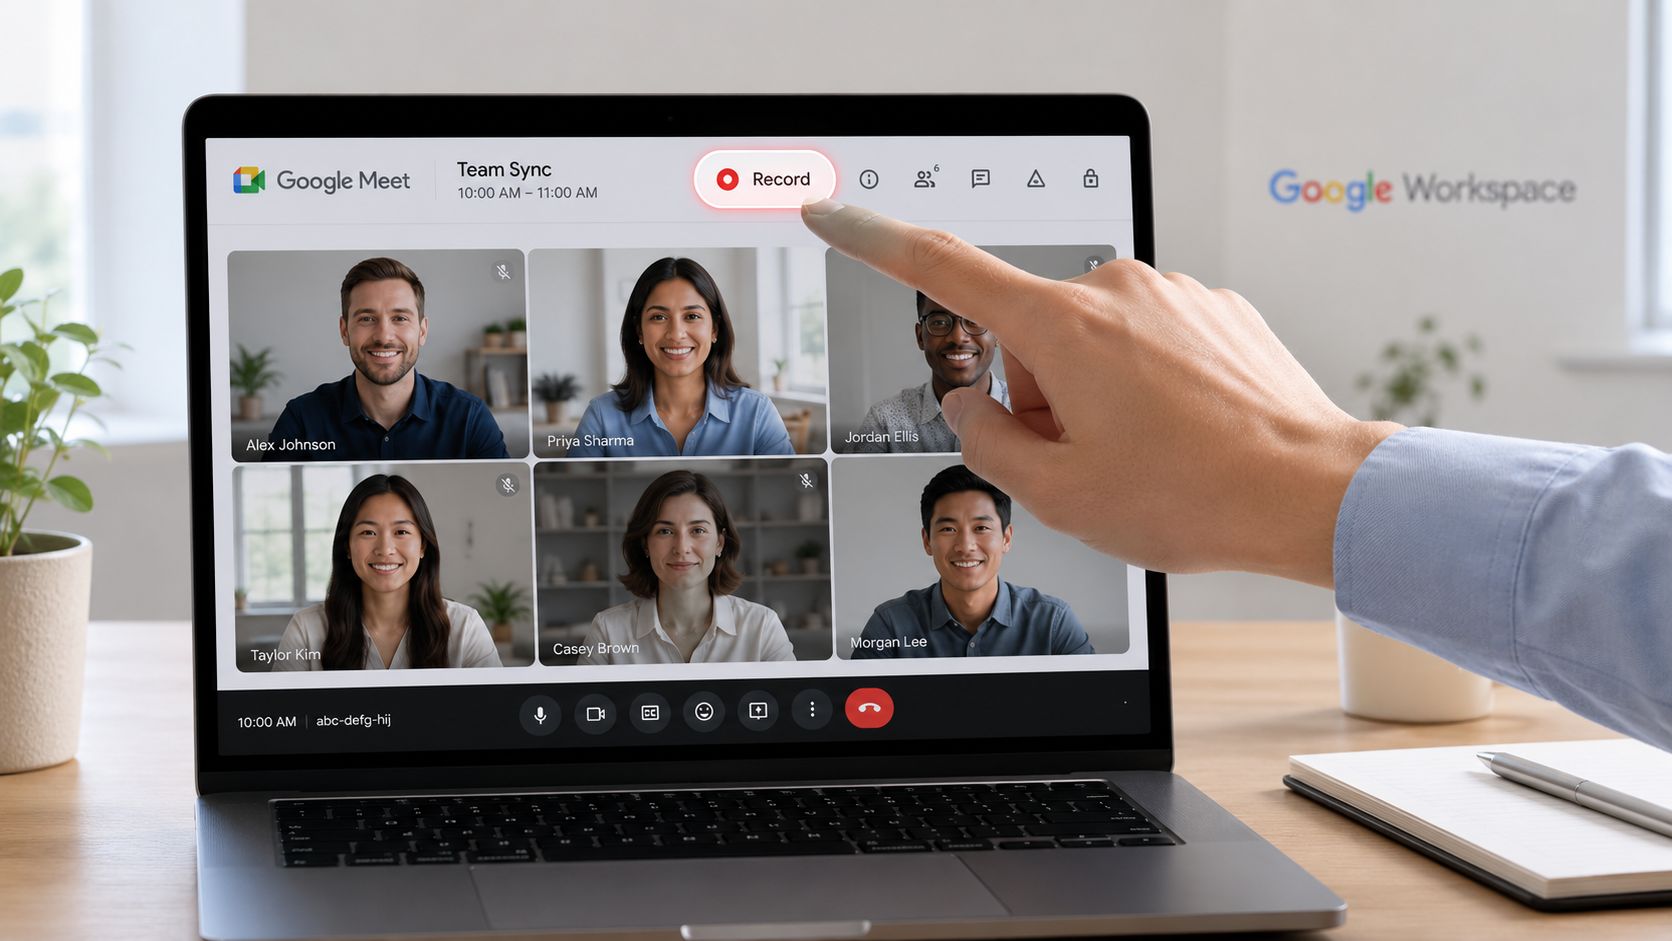
If you have the right Google Workspace setup, the built-in recorder is still the cleanest option. It lives inside Google Meet, it saves automatically, and it avoids the patchwork feel of external recording tools.
Check eligibility first
This is the part that trips people up. Native recording isn't available to everyone.
To record a Google Meet natively, the user must be the meeting host or co-host with a Google Workspace account (Business Standard or higher). The feature captures up to eight hours per meeting, saves automatically to the host's “Meet Recordings” folder in Google Drive, and all participants are mandatorily notified when recording begins, according to Nylas's overview of Google Meet recording.
If you don't see the recording option, the problem usually falls into one of these buckets:
- You're on a free Gmail account.
- Your Workspace tier doesn't support recording.
- Your admin hasn't enabled recording permissions.
- You're joining from an unsupported setup for native recording.
One useful detail from Zapier's Google Meet guide is blunt but accurate: if you don't meet the account and permission requirements, native recording has a 0% success rate. At that point, you need a different method rather than more troubleshooting.
How to start the recording
Once permissions are in place, the workflow is straightforward:
- Join or host the Google Meet.
- Open Activities in the bottom-right area of the interface.
- Select Recording.
- Click Start recording.
- Confirm the action.
Google then notifies everyone on the call. That notification matters operationally and ethically. Nobody should be surprised that the meeting is being captured.
Start recording before the conversation gets good, not after. The strongest line of the call is usually the one people assume they'll remember.
What happens after you hit record
The native recorder is designed to stay out of your way. It can run through long sessions, and it stops when the host stops it manually or when everyone leaves the meeting.
A few practical points make life easier:
- File location: Google saves the file to the host's Drive in the Meet Recordings folder.
- Timing: The video file is typically available within minutes, though captions may take longer to appear if you enabled them.
- Naming: The file is named according to the date and time of the event.
- Extras: Optional captions and transcripts can be included if enabled in settings.
A few setup choices that help quality
Before recording, check the basics instead of trusting defaults.
- Resolution matters: Zapier notes that setting send and receive resolution to 720p (HD) or higher helps avoid weak-looking recordings when visuals matter.
- Noise cancellation isn't always your friend: In a quiet room, turning it off can prevent odd voice pickup behavior.
- Test permissions early: Don't discover five minutes into a webinar that only the organizer can record.
For people with Workspace access, this is the least fussy route. It's reliable, integrated, and easy to hand off into the rest of your content workflow.
Recording Google Meet Without a Workspace Account
Most frustration around Google Meet recording starts here. You open the menu, expect a record button, and it isn't there.
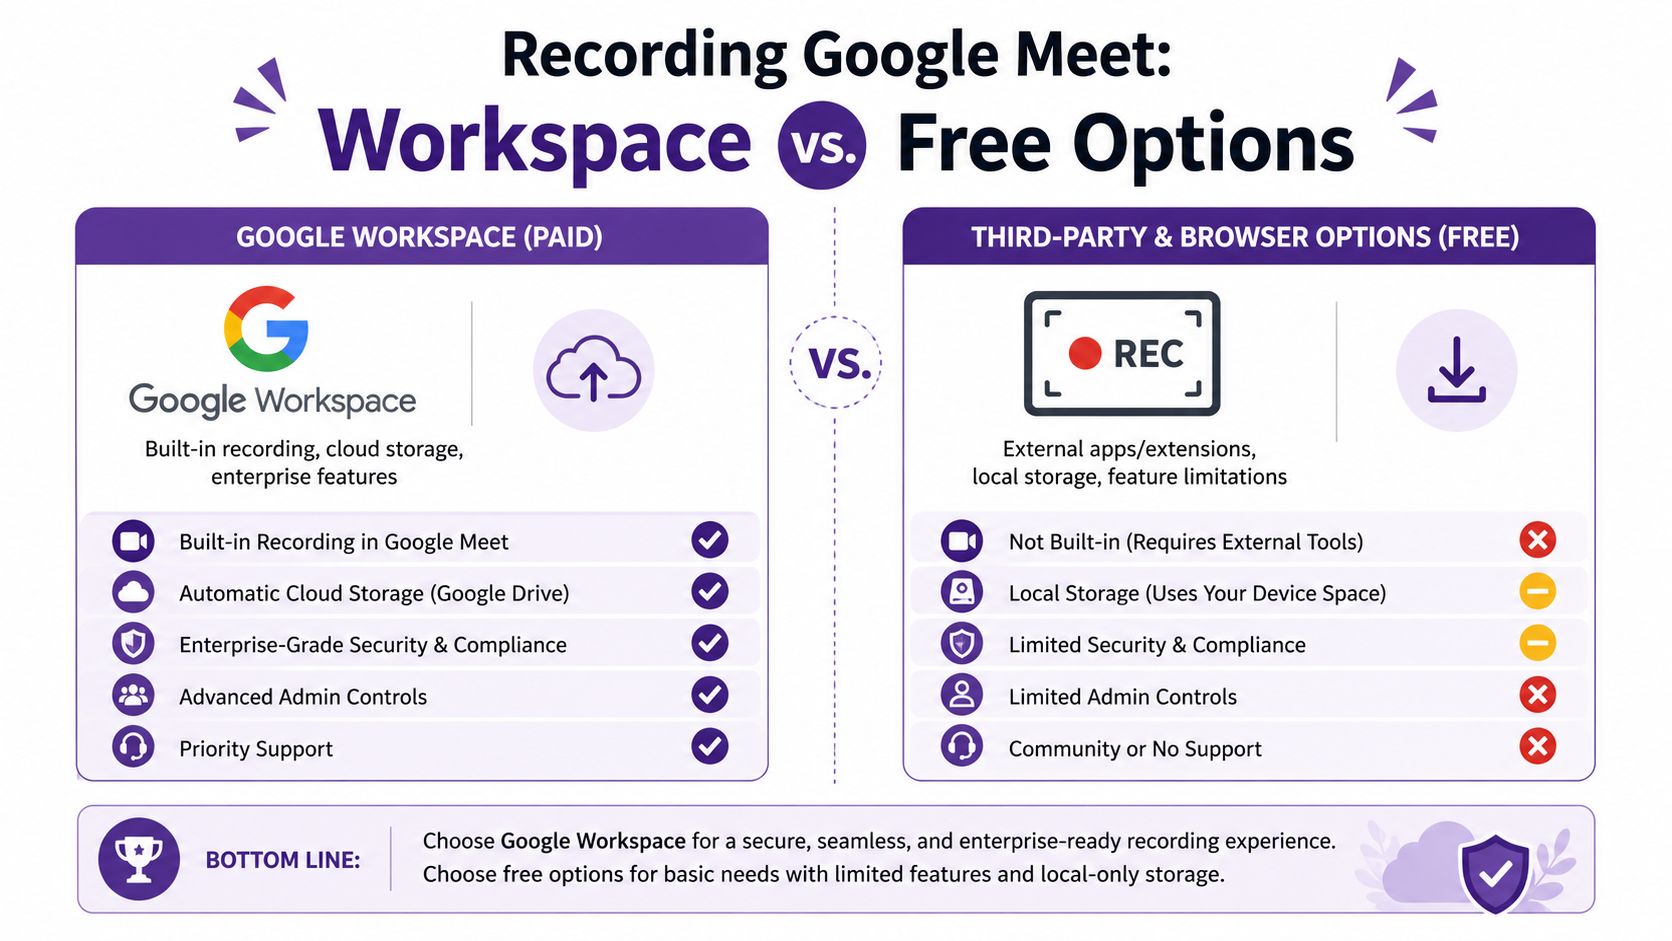
If you're using a personal Gmail account, that's normal. Native recording is restricted to paid Google Workspace tiers, so a lot of creators and small teams have to use external tools instead. That isn't ideal, but it is workable.
The built-in tools most people already have
The simplest no-budget options are already on your computer.
According to this walkthrough on recording Google Meet without native access, Windows users can press Win + G to open Xbox Game Bar, and Mac users can use QuickTime to record the screen. These methods often need extra setup, such as virtual audio drivers, to capture system audio alongside the microphone, which is necessary if you want all participants in the recording.
That system-audio detail is where many recordings go wrong.
What works and what doesn't
If you're evaluating methods, don't just ask whether they can record video. Ask whether they can capture the specific audio you need.
| Method | Cost | Audio Capture (System/Mic) | Ease of Use | Best For |
|---|---|---|---|---|
| Google Workspace native recorder | Paid Workspace plan required | Native meeting capture with built-in workflow | Easy | Hosts and co-hosts on supported plans |
| Xbox Game Bar | Built into Windows | Needs setup to capture the right audio mix | Moderate | Windows users who want a quick local recording |
| QuickTime | Built into macOS | Mic by default, system audio needs a workaround | Moderate | Mac users who can test setup before the call |
| Chrome recording extension | Varies | Depends on extension permissions and configuration | Easy to moderate | Browser-based capture without paid Workspace |
| Third-party screen recorder app | Varies | Often more flexible than OS defaults | Moderate | Creators who need more control |
The Mac problem is usually audio
QuickTime is useful, but it catches people off guard because it typically records the microphone by default. That means you may hear your own voice clearly while other speakers sound missing or faint.
If you're on Mac, test this before a real interview. Use a short private call, record for a minute, then play it back. If participant audio didn't come through, you'll need a workaround such as speaker playback or a virtual audio setup.
If your recording contains only your voice, the failure wasn't the screen recorder. It was the audio path.
Chrome extensions and third-party recorders
Browser extensions can be the most convenient workaround for free-account users. Some offer one-click recording inside Chrome and feel closer to a native experience than Game Bar or QuickTime.
The trade-off is control and trust. Extensions may require permissions, can behave differently across browser updates, and sometimes need careful mic selection before you start. For people comparing options beyond Google Meet, this guide to compare apps for recording lectures is useful because the underlying problems are similar: stable capture, audio quality, storage, and ease of review.
If you also record calls outside Google Meet, this breakdown of screen recording FaceTime effectively is a helpful parallel because many of the same device-level audio issues show up there too.
The best choice for most free-account users
There isn't one perfect answer. There is a practical one based on your setup.
- Choose Xbox Game Bar if you're on Windows and want the fastest built-in option.
- Choose QuickTime if you're on Mac and you're willing to test audio carefully.
- Choose a Chrome extension if you want a browser-first workflow and simpler start-stop behavior.
- Choose a fuller screen recorder app if recording quality matters enough that you want more control over inputs.
If you don't have Workspace, the biggest win is preparation. Run one test recording, confirm that you can hear both sides of the conversation, and only then trust the setup for a real call.
Navigating Permissions and Recording Legally
The technical part of recording is easy compared with the trust part.
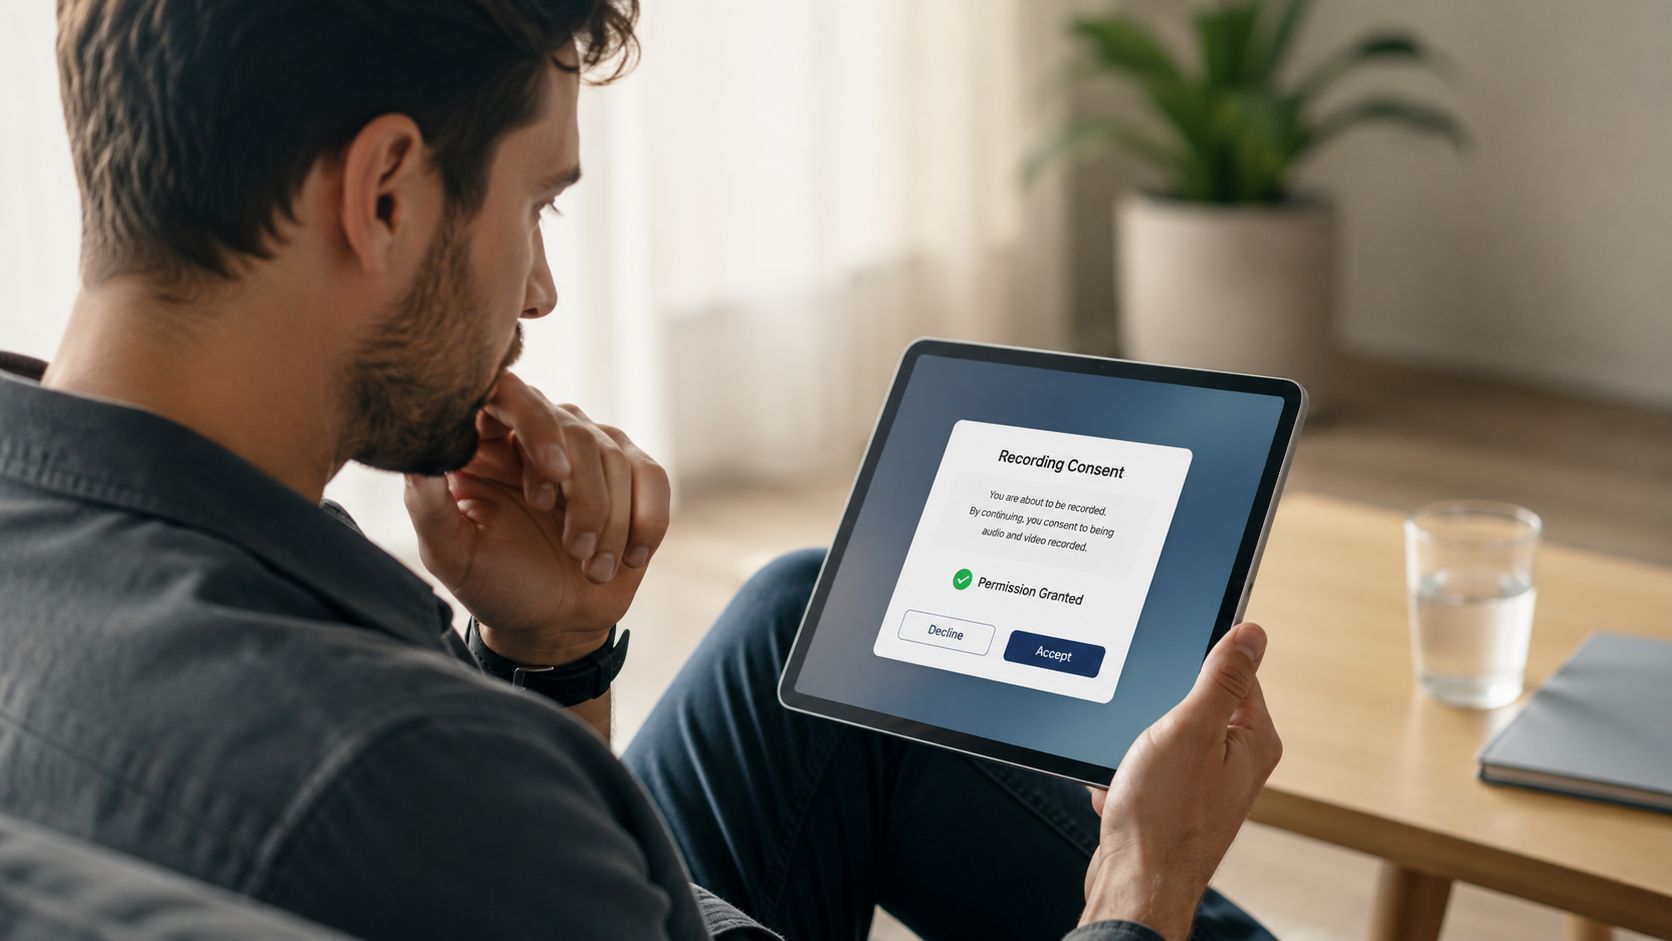
A meeting recording can become content, documentation, training material, or internal reference. It can also become a problem if people didn't understand they were being recorded. Google's built-in notification helps when you use the native recorder, but that notification doesn't replace clear human consent, especially if you're using a third-party tool that may not trigger any visible alert inside the meeting.
A simple standard to follow
Tell people before you record. Tell them again when the meeting starts. If the recording may be reused beyond internal notes, say that too.
That matters for professionalism even before legal questions enter the picture. Guests are more relaxed when expectations are explicit. Clients trust you more when process is clear. Teams make better decisions when everyone knows what's being archived and why.
Practical scripts you can actually use
You don't need legal-sounding language. You need plain language.
Use one of these in a calendar invite:
- Interview invite note: “This conversation will be recorded so I can review it afterward and repurpose approved portions into content.”
- Team meeting note: “We record these sessions for documentation and follow-up. Please let me know before the meeting if you have concerns.”
- Client call note: “I'd like to record this call so I can capture details accurately and avoid missing action items.”
Then say it again live at the start:
“Before we begin, I'm recording this Google Meet for notes and content review. Is everyone comfortable with that?”
Or, if content reuse is part of the plan:
“I'm recording this session, and I may repurpose sections into clips or written content. If there's anything you want kept off the record, say so now or flag it during the call.”
What to keep in mind legally
Consent rules vary by location. Some places allow recording with consent from one party involved in the conversation. Others require everyone's consent. Company policy can add another layer on top of local law.
The safe practice is the same across all of them:
- Ask clearly
- Get agreement
- Respect objections
- Store recordings carefully
- Avoid surprise recording with hidden tools
If someone objects, don't push through because the meeting is “too valuable.” Either stop recording, delay the session, or separate the recordable portion from the off-record conversation. Good recording habits don't just protect you. They make people more willing to say yes the next time.
From Recording to Repurposed Content
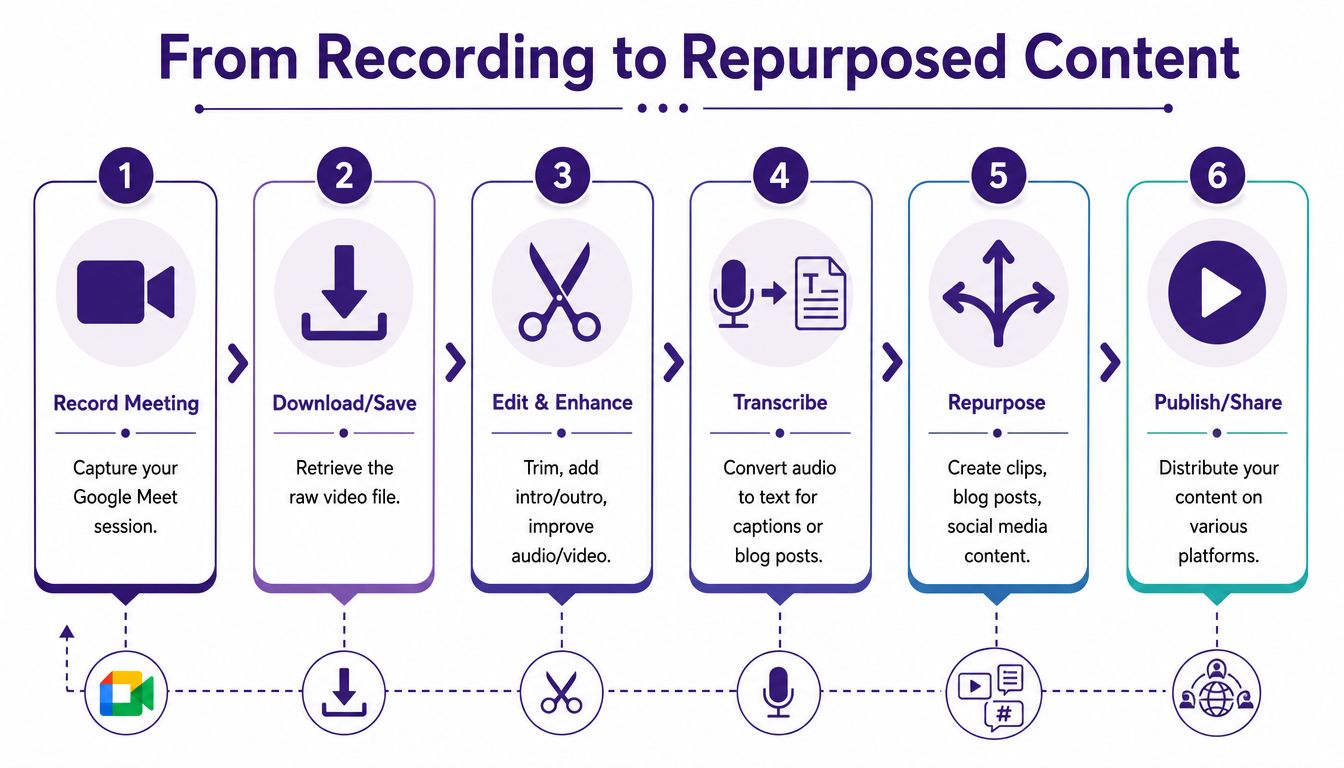
A recording only becomes valuable when you can find it, clean it up, and reuse it without friction.
That's the point where many creators drop the ball. They successfully capture the meeting, then leave the file buried in Drive or on a desktop until it's effectively dead. If you care about turning conversations into durable assets, the post-recording workflow matters as much as the recording itself.
First moves after the meeting
Start with simple cleanup.
- Save it intentionally: Native recordings land in Drive. Other methods usually save locally. Move the file to the place your team uses.
- Trim the edges: Cut the dead air at the start, the “can you hear me?” section, and the awkward wrap-up.
- Rename it properly: Use a format you can scan later by date, guest, topic, or series.
Those small steps make the file usable.
Turn one file into multiple assets
Once the meeting is clean, stop thinking of it as “the recording.” Think of it as a pillar asset.
A single strong Google Meet can produce:
- A long-form video for YouTube or a gated resource library
- Audio extraction for a podcast feed or private subscriber drop
- Short clips for social channels
- A transcript that becomes article material, quotes, captions, and outlines
- A summary post for your site or newsletter
- Reusable internal knowledge for onboarding, sales enablement, or editorial planning
If you need help converting raw audio into text before repurposing it, this list of apps for transcribing voice notes is a practical starting point.
A lot of teams improve output by creating a habit: every worthwhile conversation gets captured, labeled, transcribed, and tagged for future use. This is the operational side of repurposing, not just the creative side. A solid set of content repurposing strategies becomes much easier to execute once your recordings are organized from day one.
Review your library on purpose
One recorded meeting is useful. A library of recorded conversations is an advantage.
Industry best practice calls for quarterly reviews of content libraries using metrics like page views, conversion rates, and time-on-page to identify repurposing opportunities, rather than relying on gut feel, as outlined in Cloud Present's guide to repurposing content.
That's the difference between random reuse and systematic value creation.
A quick video summary can help your team think through this workflow in a more visual way.
Fixing Common Google Meet Recording Issues
Most recording problems are predictable. They just don't feel predictable when you discover them after a great call.
The main issues tend to fall into four buckets: the file is missing, the audio is silent, the record button isn't available, or the final capture looks and sounds rough. Each has a practical cause.
Why can't I find my recording
This is the classic panic moment.
A common user question, “Where is my missing Google Meet recording?”, is often caused by processing delays or checking the wrong place. Google's data shows 60% of cases stem from this, not technical errors, because recordings can take hours to process and save only to the organizer's Drive, according to this support explanation of missing Google Meet recordings.
If the file isn't visible yet:
- Wait before assuming failure: Processing can take time.
- Check the organizer's account: Participants often look in their own Drive and find nothing.
- Look in the expected folder: Native recordings should appear in the Meet Recordings area of the organizer's Drive.
Why the recording is silent
Silent captures usually come from input mistakes, not from Google Meet itself.
On external recorders, the most common issue is recording only the microphone or only the screen without the meeting audio path configured correctly. On Mac, this often shows up with QuickTime. On Windows, it can happen if Game Bar settings aren't using the right source.
Use a preflight check before any important call:
- Record a short test.
- Speak and have another person speak.
- Play it back with headphones.
- Confirm that both sides are audible.
If one side is missing, fix the audio routing before the actual session.
Why the record button is missing
If you expected native recording and don't see the option, don't keep clicking around hoping it appears.
Usually the issue is one of these:
- Wrong account type: Free Gmail accounts don't get native recording.
- Unsupported Workspace tier: Recording starts at Business Standard and above.
- Admin restriction: Recording may not be enabled by your organization.
- Device limitation: Some setups won't show the native recording path.
The practical answer is simple. If native recording isn't available, switch to a tested external method rather than improvising mid-meeting.
Missing buttons are usually permission problems, not user error. Stop troubleshooting blindly and verify account status first.
Why the final recording sounds or looks bad
Quality problems often come from settings that were left on autopilot.
A few fixes help:
- Use stable resolution settings: If visuals matter, avoid low-quality defaults.
- Check noise cancellation behavior: In quiet rooms, aggressive filtering can mangle voice pickup.
- Close distractions: Extra browser tabs and notifications create visual mess and split your attention.
- Use a real test meeting: Don't test a serious recording setup for the first time during a live interview.
The reliable pattern is boring but effective. Choose the method that fits your account, test the exact device and audio path you'll use, and name and store the file right after the meeting. That's how recording stops being a gamble and starts becoming part of a repeatable content workflow.
If you're sitting on a growing pile of recordings, webinars, interviews, drafts, transcripts, and archived assets, the hard part usually isn't making more content. It's organizing what you already have so you can reuse it intelligently. Contesimal helps creators, publishers, and content teams turn scattered libraries into usable systems for research, collaboration, and repurposing, so every strong conversation has a better chance of becoming lasting value.